Image may be NSFW.
Clik here to view.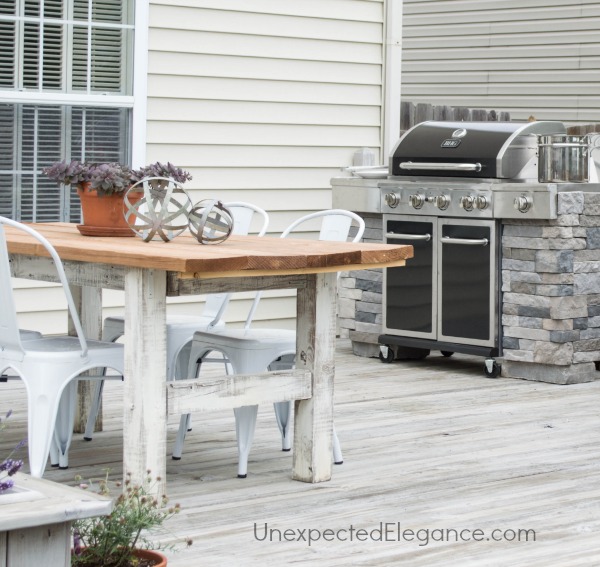
I have dreamed about having a fancy, stone-covered grilling station for years. The problem was the expensive price tag. So, I decided to make my own! I didn’t want something stationary because our grill is on our deck and needs to be moved. My solution was to attach the stone directly to our grill. Image may be NSFW.
Clik here to view.
This is what it looked like last week.
Image may be NSFW.
Clik here to view. I started by building a frame to fit under the grill’s “wings”. I used 1×2’s and 2″ screws to construct the frames.
If you are doing this yourself, just measure the dimensions carefully. Unfortunately, every grill is different so I can’t give you exact dimensions. Also make sure to add a middle support for more stability.
Image may be NSFW.
Clik here to view.
For the front and side I decided to use metal sheeting. I found this at the hardware store in the aisle with duct material. I laid the frame on top of the sheeting and used a sharpie to make my mark.
Image may be NSFW.
Clik here to view.
Tin snips cut the metal easily. Be sure to use gloves when cutting metal for safety.
Image may be NSFW.
Clik here to view.
To attach the metal to the frame I used a new product by Elmer’s, called ProBond Advanced. ProBond Advanced is the perfect multi-surface adhesive for bonding mixed materials, like wood to metal without any of the foam residue. It’s has a 100% weatherproof and performance guarantee, all while eliminating the hassle of foam residue.
Image may be NSFW.
Clik here to view.
To allow the product to bond successfully, I laid the metal on a flat surface with the frame over it, and then placed some heavy objects on the top of the frame.
Image may be NSFW.
Clik here to view.
The ProBond gave me a strong bond and held the metal and wood together great!
Here are the finished frames. They are amazingly light, too!
Image may be NSFW.
Clik here to view.
To attach the frames to the grill, I used the pre-existing holes on the sides and drilled a few extra holes under the “wings”.
Image may be NSFW.
Clik here to view.
Image may be NSFW.
Clik here to view.
I got the stone veneer and recommended adhesive at the hardware store. It was really easy to work with and I only needed two boxes to complete this project. (You can cut it with a hacksaw. Image may be NSFW.
Clik here to view. )
I recommend that you start in the corners and from the bottom.
Image may be NSFW.
Clik here to view.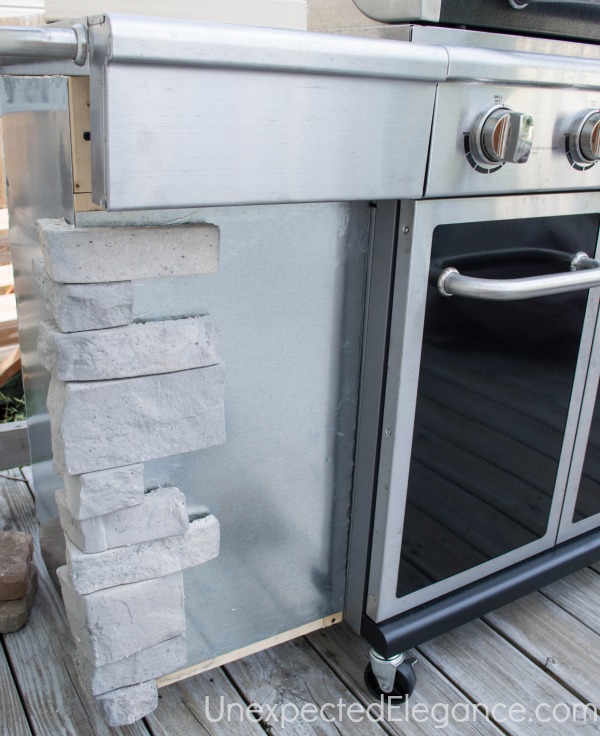
The whole process took me a few days but I think it came out great!!
You can see from this picture that there is a gap under the stone. (Remember, I wanted to be able to move mine around.)
Image may be NSFW.
Clik here to view.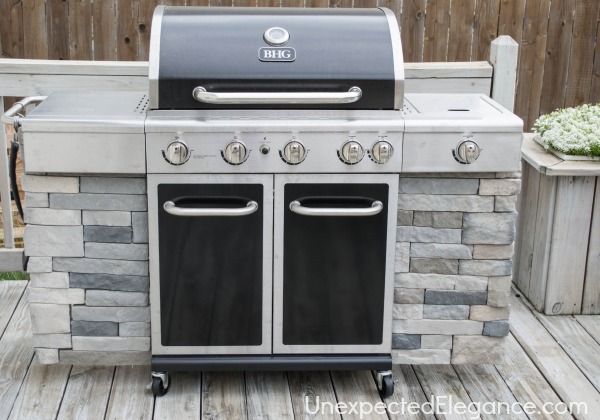
To give it the appearance of a built-in, I found two larger pieces of stone (also from the hardware store, outside in the garden section) to put under each side.
Image may be NSFW.
Clik here to view.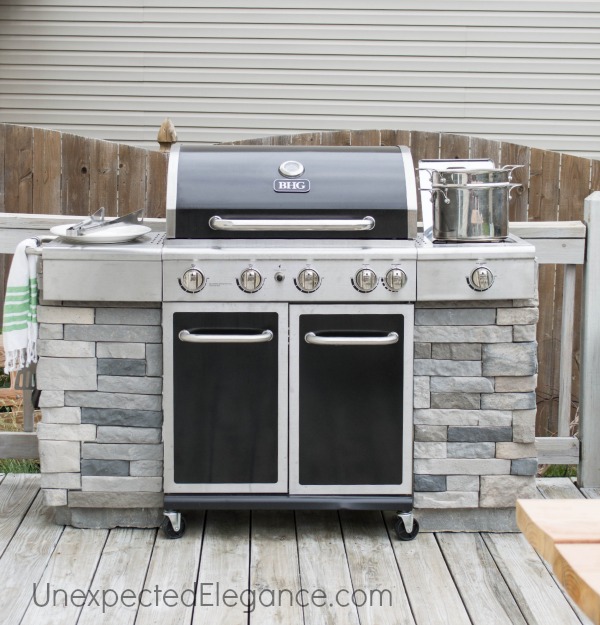
This project cost me around $150 total. That’s a LOT less than you could purchase something like this pre-made.
Image may be NSFW.
Clik here to view.
Image may be NSFW.
Clik here to view.
